Are you tired of spending time on a beautiful manicure, only to have it chip within two days? If you crave glossy, perfect nails that can keep up with your busy life, it’s time to talk about gel polish. This innovative product has taken the beauty world by storm, and for good reason. Let’s dive into what it is, why you need it, and how to make it last.
What is Gel Polish?
Think of gel polish as the smarter, stronger cousin of regular nail polish. It comes in a similar bottle with a brush, but the formula is completely different. Gel polish contains special monomers and oligomers that harden when exposed to UV or LED light . This process, called “curing,” transforms the liquid polish into a durable, high-shine coating on your nails.
Unlike traditional polish that air-dries and remains relatively soft, gel polish creates a hard, protective layer that is resistant to smudges, scratches, and everyday wear and tear.
Why You Should Make the Switch to Gel
Still on the fence? Here is why millions of women (and men!) are choosing gel:
- Unbeatable Longevity: While a regular manicure might last a few days, a properly applied gel manicure can stay flawless for two to three weeks, and sometimes up to four . You can say goodbye to constant touch-ups.
- Instant, Smudge-Proof Drying: There is no “waiting for your nails to dry” phase. Once you slip your hands under the lamp, the polish cures in 30 to 60 seconds. You can grab your keys, type on your keyboard, or zip up your jeans immediately without ruining your hard work.
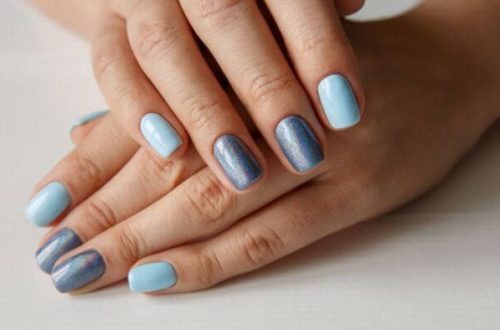
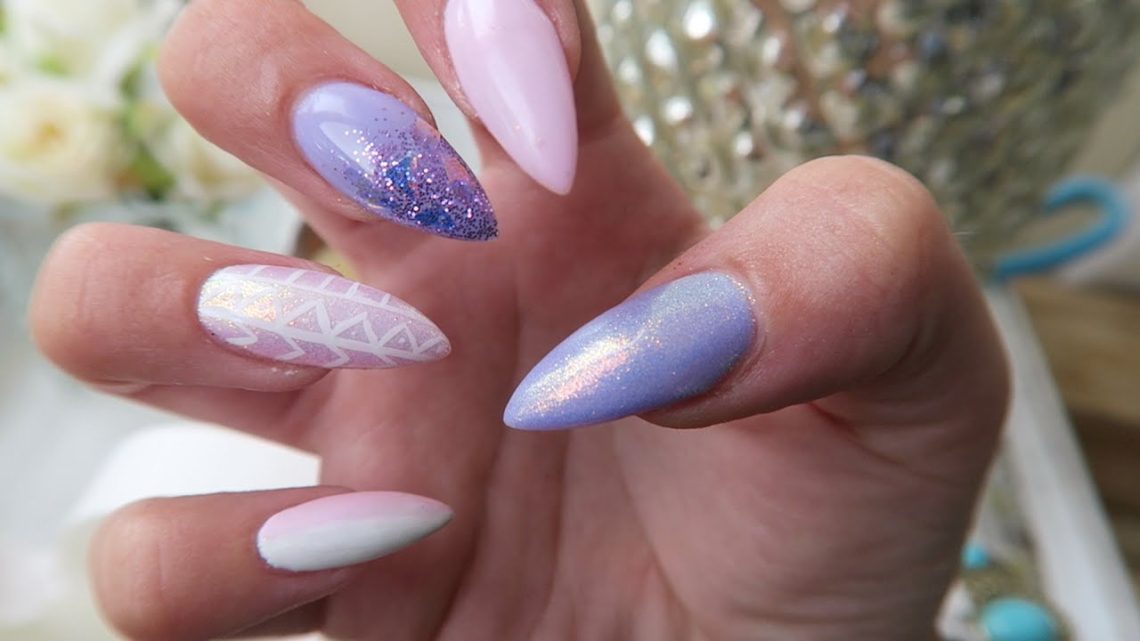
- High-Gloss Finish: Gel polish provides a signature mirror-like shine that doesn’t dull over time. It looks like you just left the salon for weeks.
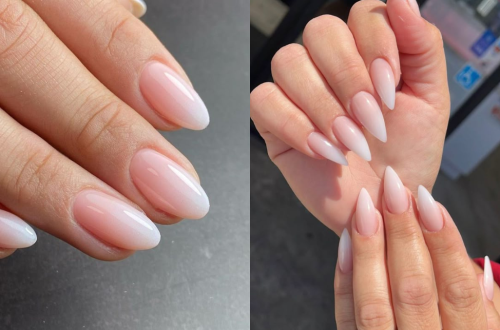
- Strength and Protection: The gel adds a layer of armor to your natural nails, helping to prevent them from breaking, splitting, or tearing as they grow longer.
Why Is My Gel Polish Not Lasting?
It can be frustrating when your gel peels or chips after just a few days. In most cases, it’s not the product itself—it’s the application or preparation. Gel polish lifts when it fails to adhere properly to the nail plate. The main culprits are usually:
- Incomplete Nail Prep: This is the number one offender. If the natural nail still has oil, moisture, or dust on it, the gel won’t stick.
- Application Errors: Painting the polish too thickly or accidentally flooding your cuticles and sidewalls creates weak points where lifting can start.
- Not “Capping” the Tip: Forgetting to seal the free edge (the tip of your nail) leaves the layers open to water and impact, leading to chipping .
- Lamp Issues: If your lamp isn’t powerful enough or the bulbs are old, the gel won’t cure fully, causing it to be soft and peel off easily.
Pro Tips to Extend the Life of Your Gel Manicure
Want that perfect two-week (or longer) wear? Follow these three essential steps.
Phase 1: The Perfect Start (Nail Preparation)
This is the foundation of a long-lasting manicure. You cannot skip these steps.
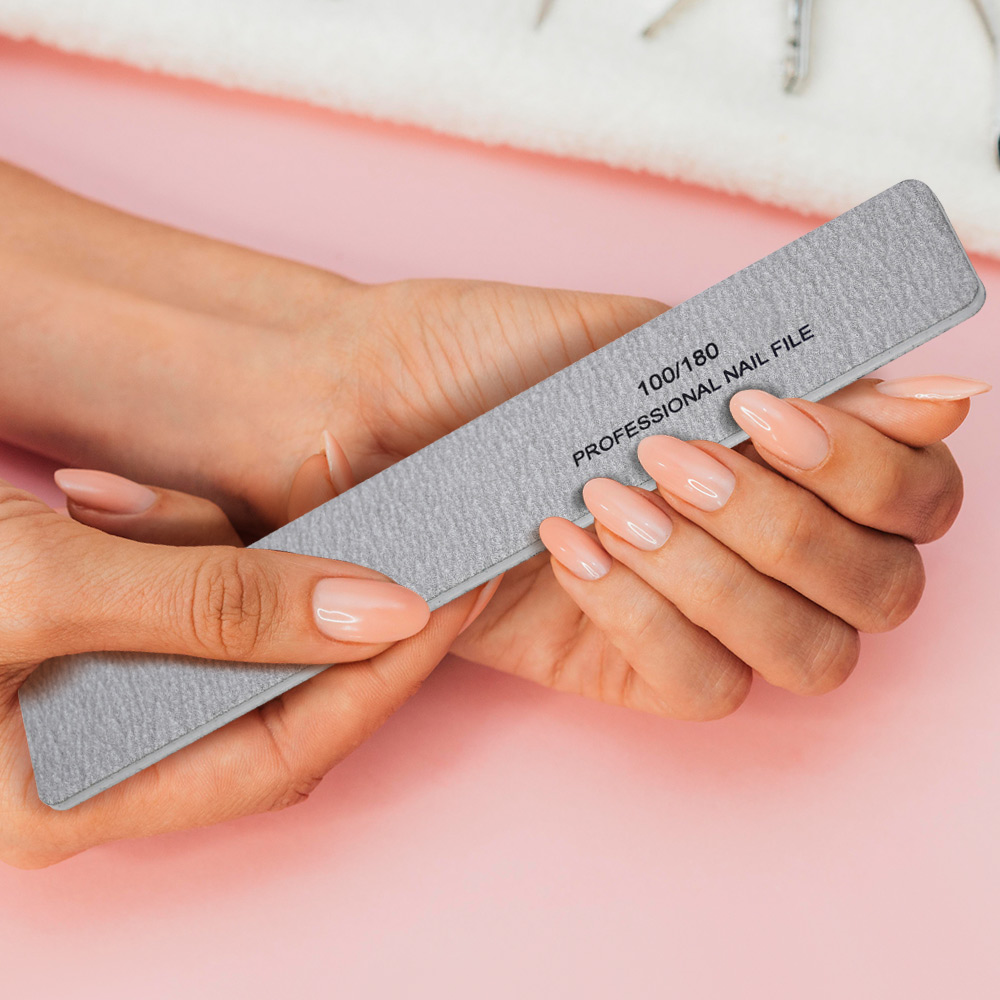
1. Push and Gently Buff: Start by pushing back your cuticles and gently buffing the surface of your nail plate with a nail file. This removes the natural shine and creates a rough surface for the gel to “grab” onto . Be careful not to over-buff, as this can weaken the nail.
2. Cleanse Thoroughly: Wash away the dust and, most importantly, use a lint-free wipe soaked in 99.9% alcohol or a nail cleanser. This dehydrates the nail and removes any lingering oil or moisture. This step is non-negotiable.
Phase 2: The Art of Application (How to Paint)
Precision is key during this phase.
1. Thin is In: Apply your base coat, color, and top coat in very thin, even layers. Thick layers cannot cure properly and will wrinkle or peel . It is better to do two thin coats of color than one thick, goopy coat.
2. Stay Inside the Lines: Keep the polish off your cuticles and skin. If gel touches the skin, it will eventually lift there and peel the entire manicure away from the nail.
3. Cap the Free Edge: With every single layer (base, color, and top), swipe the brush horizontally across the tip of your nail to seal it. This “wraps” the polish around the edge, preventing water and shock from getting underneath.
4. Respect the Cure: Make sure your lamp matches your polish brand’s requirements and that you cure for the full recommended time.
Phase 3: Playing the Long Game (Ongoing Maintenance)
Your job isn’t over once you step out of the salon (or turn off your lamp).
1. Oil, Oil, Oil: Hydration is crucial. Apply cuticle oil daily. This keeps the nail plate flexible and prevents the polish from becoming brittle and lifting at the edges.
2. Hands Off: Your nails are jewels, not tools. Do not use them to scrape stickers, open soda cans, or pry things open.
3. Glove Up: Wear rubber gloves when doing dishes or using harsh cleaning chemicals. Water and bleach are the enemies of gel adhesion.
By understanding the science behind gel polish and following these simple steps, you can enjoy a salon-quality, durable manicure that looks amazing for weeks. Invest in quality products, perfect your prep, and your nails will thank you!
Read also: American manicure guide and maintenance tips