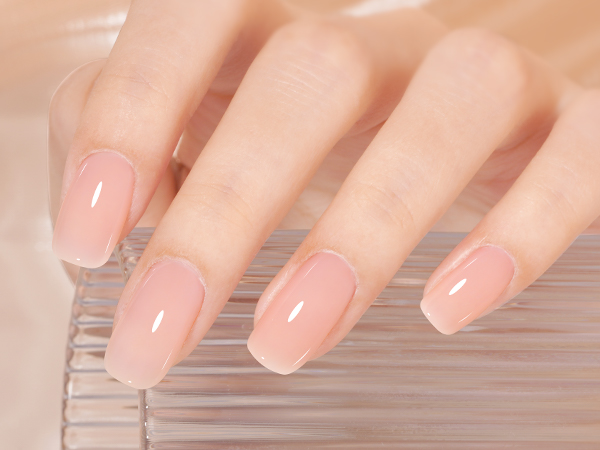
Gel nails have revolutionized the manicure world. Unlike traditional polish that dries by evaporation, gel polish is formulated with photoinitiators that harden (cure) under a UV or LED lamp. The result is a glossy, chip‑resistant finish that lasts two to three weeks without smudging. With the right tools and technique, you can achieve salon‑quality gel nails in your own home.
What You’ll Need
Before you start, gather these essentials:
- UV or LED lamp – LED cures in 30–60 seconds; UV takes about two minutes. Ensure your lamp’s wavelength matches your gel brand.
- Gel base coat – Creates adhesion and prevents staining.
- Gel color polish – Choose reputable brands for smooth, even coverage.
- Gel top coat – Seals the color and adds high shine.
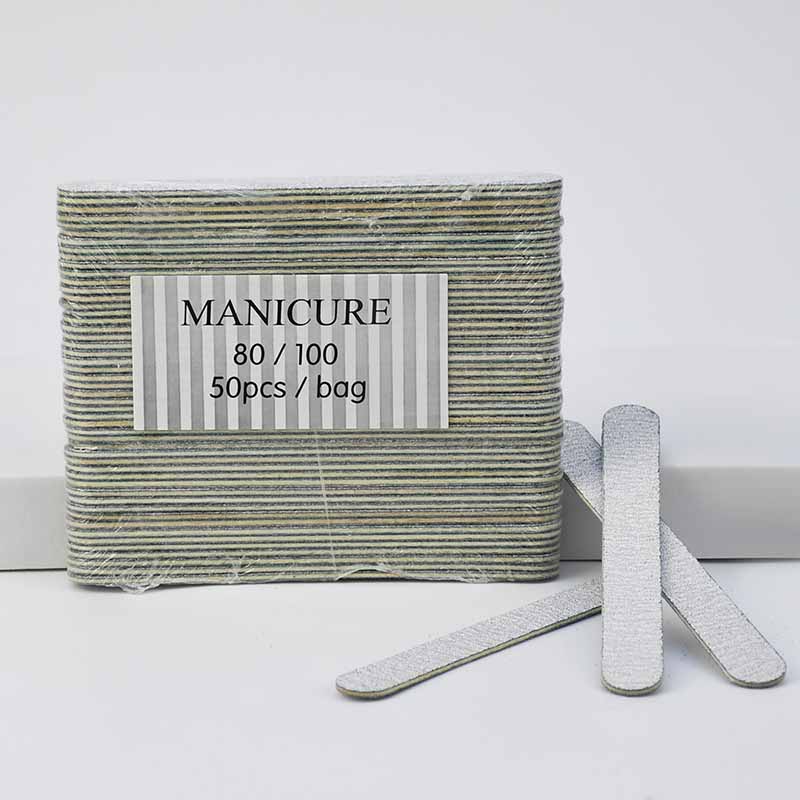
- Nail file and buffer – For shaping and gently removing shine.
- Cuticle pusher and nippers – For prepping the nail plate.
- Lint‑free wipes and isopropyl alcohol (91%+) – To cleanse and remove the sticky inhibition layer.
- Cuticle oil – For post‑manicure hydration.
Step‑by‑Step: Professional Gel Application at Home
1. Prep your nails – the most important step.
Remove any old polish. Shape your nails with a fine‑grit file, pushing cuticles back gently. Lightly buff the nail surface to remove natural shine – this creates a rough texture for the gel to grip. Wipe each nail thoroughly with alcohol on a lint‑free wipe to eliminate dust and oils. Do not touch your nails after this step.
2. Apply base coat.
Apply a thin, even layer of gel base coat, making sure to cap the free edge (run the brush along the nail tip). Cure under your lamp according to the manufacturer’s instructions (typically 30–60 seconds for LED, two minutes for UV). The base coat should feel slightly tacky after curing – that’s normal.
3. Apply color.
Roll the gel polish bottle between your palms (never shake, which creates bubbles). Apply a thin first layer of color, capping the free edge again. Cure fully. Apply a second thin layer and cure. For sheer or dark colors, a third thin coat may be needed. Thin layers are essential – thick gel peels, bubbles, and cures unevenly.
4. Seal with top coat.
Apply a thin layer of gel top coat, cap the free edge, and cure. After curing, some top coats leave a sticky inhibition layer. Wipe it off with alcohol on a lint‑free wipe for a glossy, smudge‑proof finish.
5. Hydrate.
Massage cuticle oil into each nail and surrounding skin. This replenishes moisture and helps the gel flex with your natural nail, reducing lifting.
Can You Remove Gel Nails Yourself? Absolutely – if you do it safely.
Improper removal – picking, peeling, or aggressive filing – is the number one cause of nail damage. Never peel gel polish off. The safe method is an acetone soak‑off, which takes patience but leaves your natural nails healthy.
How to Remove Gel Polish at Home
What you’ll need: 100% pure acetone, cotton balls, aluminium foil squares, nail file (180 grit), cuticle pusher (wooden stick), cuticle oil.
Step 1 – Break the seal.
Gently file the shiny top coat off each nail. You don’t need to remove all the color – just rough up the surface so acetone can penetrate.
Step 2 – Soak and wrap.
Saturate a cotton ball with pure acetone and place it directly on your nail. Wrap the fingertip tightly with a small piece of foil to hold the cotton in place. Repeat for all ten fingers.
Step 3 – Wait.
Let your nails soak for 10–15 minutes. Do not peek – unwrapping releases acetone vapour and slows the process. Warmth speeds up the reaction, so you can wrap your hands in a towel.
Step 4 – Gently push.
Unwrap one finger. Using a wooden cuticle pusher, gently push the softened gel from the cuticle toward the free edge. The gel should slide off easily. If it resists, rewrap and wait another five minutes. Never scrape or force it.
Step 5 – Buff and hydrate.
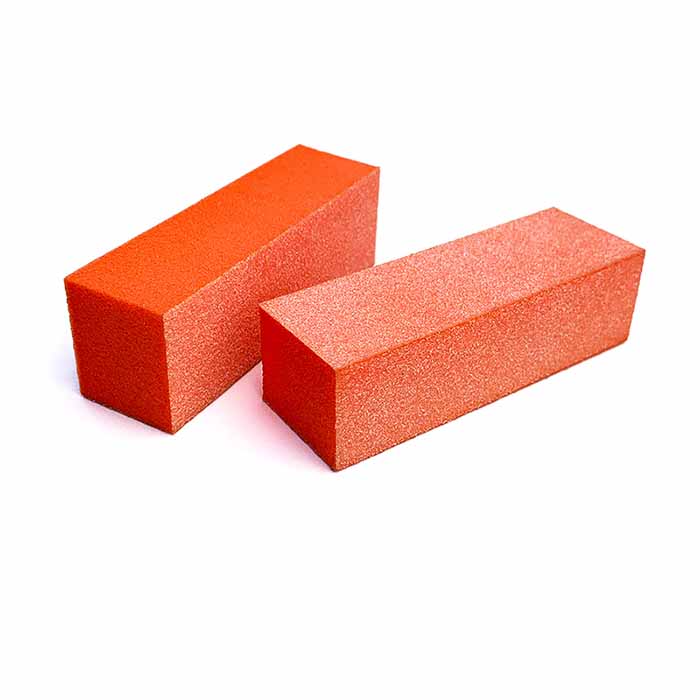
Once all gel is removed, lightly buff away any residue. Wash your hands with soap and water, then immediately apply cuticle oil and a rich hand cream. Acetone is extremely drying, so this aftercare is essential.
Aftercare: Restoring Your Natural Nails
After removal, your nails may feel slightly dehydrated or thin. That’s normal – but with proper care, they’ll recover within a few days.
- Apply cuticle oil twice daily for at least a week.
- Use a nail strengthener if your nails feel weak or peel.
- Keep nails short while they regain strength to avoid breakage.
- Give your nails a break – wait 24–48 hours before applying a new gel set. This allows the nail plate to rehydrate fully.
Common Mistakes to Avoid
- Skipping the base coat – leads to staining and poor adhesion.
- Applying thick gel layers – causes wrinkling, heat spikes, and peeling.
- Curing with an incompatible lamp – under‑cured gel is soft and lifts.
- Peeling off the gel – rips layers of your natural nail, causing months of weakness.
Gel nails are a fantastic way to enjoy long‑lasting, high‑shine manicures. With proper preparation, careful application, and patient removal, you can keep your natural nails healthy while enjoying weeks of flawless colour.
Read also: The Beginner‘s Guide to At-Home Gel Manicures: Is It Worth It and How to Do It Right


One comment on “Gel Nails at Home: A Professional Guide to Application, Removal, and Aftercare”