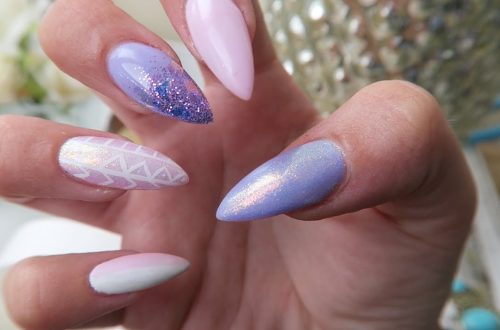
Gel manicures are beloved for their long-lasting, glossy finish that shines for weeks without chipping. But salon visits add up quickly. Many nail enthusiasts are now asking: Is doing gel nails at home really worth it for a beginner? The answer is yes — with the right tools and a little patience, DIY gel nails can save you significant money and give you salon-quality results on your own schedule. Here’s everything you need to know to get started.
Is At-Home Gel Manicure Worth It?
Let’s start with the math. A salon gel manicure typically costs 35 to 60 per session. Over a full year, that adds up to around 900 to1,500 or more. In contrast, a good at-home starter kit costs between 50 and 150. After the initial investment, replacement polishes run about 10–20 each, bringing annual costs after the starter kit to roughly 200–300. After just two or three salon visits, you‘ve already spent more than a quality at-home kit.
Beyond cost, doing your own gels offers unmatched convenience. No appointments, no commuting, and the freedom to do your nails late at night or on your couch. Professional nail artist Miss Pop also notes that being able to remove gels when lifting starts protects your natural nails — if you wait too long between salon visits, lifting can take the top layer of your nail with it.
There is a learning curve: your first attempt may not be perfect, but by your third or fourth try, you’ll likely have the technique down.
What You‘ll Need: The Essential Supplies
Before you start, gather these items:
- UV or LED lamp – Necessary for curing the gel (LED cures in 30–60 seconds, UV in 2 minutes) . For beginners, a 36W–48W lamp is ideal for reliable curing.
- Base coat and top coat – A two-part system helps the gel adhere and seals in the color. Using the same brand for all three products helps avoid formula conflicts that can cause lifting.
- Gel polish (color) – Choose reputable brands; cheap polishes often have lumpy consistency and poor coverage.
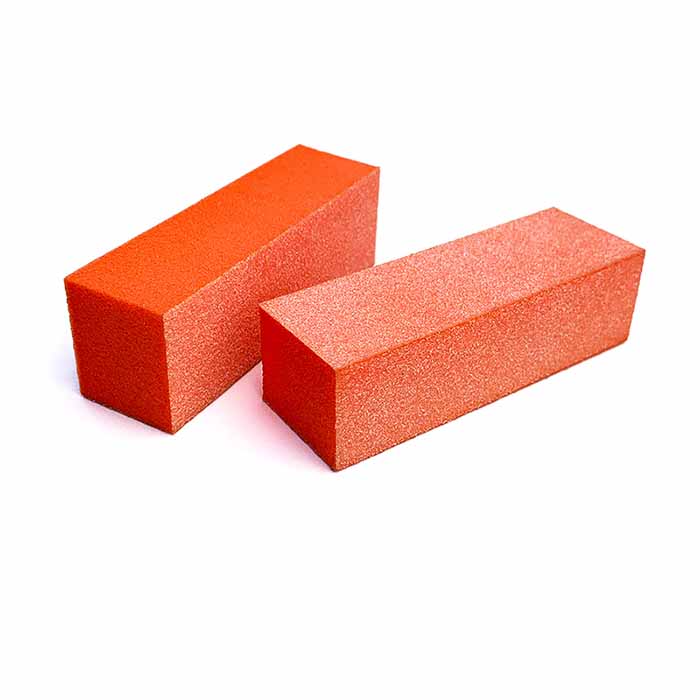
- Nail file (180-grit) and buffer block – For shaping and gently removing shine.
- Cuticle pusher – To push back cuticles (avoid cutting them).
- Lint-free wipes and rubbing alcohol – To cleanse and dehydrate nails before application.
- Cuticle oil – To hydrate after the manicure.
Step-by-Step: How to Do a Gel Manicure at Home
Step 1: Nail Preparation (The Most Important Step)
Proper prep is non-negotiable for a long-lasting gel manicure. Push back your cuticles with a cuticle pusher or orangewood stick. Lightly buff the surface of each nail with a buffer block to create a slightly textured surface that helps the gel adhere — but be careful not to over-buff and thin the nail. Finally, wipe each nail with rubbing alcohol on a lint-free wipe to remove all oils and dust.
Step 2: Apply Base Coat
Apply a thin, even layer of gel base coat. Be sure to cap the free edge (the tip of the nail) by swiping the brush along the edge — this seal prevents chipping. Keep polish off your cuticles and skin, as any gel touching skin will cause lifting. Cure under your lamp following the manufacturer’s instructions (typically 30–60 seconds for LED, 2 minutes for UV).
Step 3: Apply Color
Gently roll the gel polish bottle between your palms — never shake it, as that creates bubbles. Apply a thin first layer of color, again capping the free edge. Cure fully. Two thin coats are better than one thick coat; thick layers under-cure, causing peeling and lifting. Apply a second thin layer, cure again.
Step 4: Apply Top Coat
Seal your manicure with a thin layer of top coat, cap the free edge, and cure. After curing, some top coats leave a sticky residue; wipe it away with rubbing alcohol to reveal a glossy shine.
Step 5: Hydrate
Finish by applying cuticle oil to each nail to nourish the skin and prevent brittleness.
Removing Your Gel Manicure Safely
Never peel or pick at gel polish — this can tear layers off your natural nails and leave them thin and damaged . Follow the safe acetone soak-off method:
What you‘ll need: 100% pure acetone, cotton balls, aluminum foil, nail file, cuticle pusher, cuticle oil.
1. File the top layer — Gently buff the shiny top coat of each nail with a nail file to break the seal. This allows acetone to penetrate. Don’t file down to your natural nail.
2. Soak and wrap — Saturate a cotton ball with 100% pure acetone and place it on your nail. Wrap the fingertip tightly with a small square of aluminum foil to hold the cotton in place. Repeat for all fingers.
3. Wait — Let them soak for 10–15 minutes. The acetone will break down the gel polish. Do not peek — every time you unwrap, you release the acetone vapor and slow the process.
4. Gently push — Unwrap one finger and use a cuticle pusher or orange stick to gently push off the softened gel. If the gel doesn‘t slide off easily, rewrap and wait another 5 minutes. Never scrape or force it.
5. Buff and moisturize — Once all gel is removed, lightly buff any remaining residue and wash your hands. Apply cuticle oil generously — acetone is very drying, so hydration is essential.
Pro Longevity Tips
Thin layers always. Thick coats won‘t cure properly and will lift quickly.
Don’t skip cap of the free edge. Sealing the tip prevents water from seeping under and lifting the gel.
Use cuticle oil daily — hydrated nails are less likely to become brittle and crack. And wear gloves for dishes and cleaning to protect your manicure from prolonged water exposure.
DIY gel manicures take practice, but the payoff is worth it. With quality tools, proper technique, and patience, you can enjoy salon-quality, chip-free nails without ever leaving home.
Have questions about specific gel products or techniques? Drop them in the comments — I’ve made all the beginner mistakes and I‘m happy to share what works.
Read also: The Secret to Flawless Nails: Everything You Need to Know About Gel Polish